
“I highly recommend MTC Renovation, myself and my family are really grateful for the excellent renovation they did for us. We are very pleased with the results of the property renovation, wonderful management of the project. Estimates for both cost and time to completion were generally accurate. Andrew was very easy to communicate with, returning calls promptly. They're extremely polite and professional. We would recommend MTC to anyone considering renovating his or her property.”
— Mr Oseghale
Home Renovation - Moston
The Rip Out:
The first phase of the renovation was to completely rip out all rooms back to the natural brick walls. This involves removing all plaster and existing plasterboards and any tiles or laminate that were on bathroom and downstairs flooring, taking the floors back to the original floorboards to completely rebuild up from scratch.


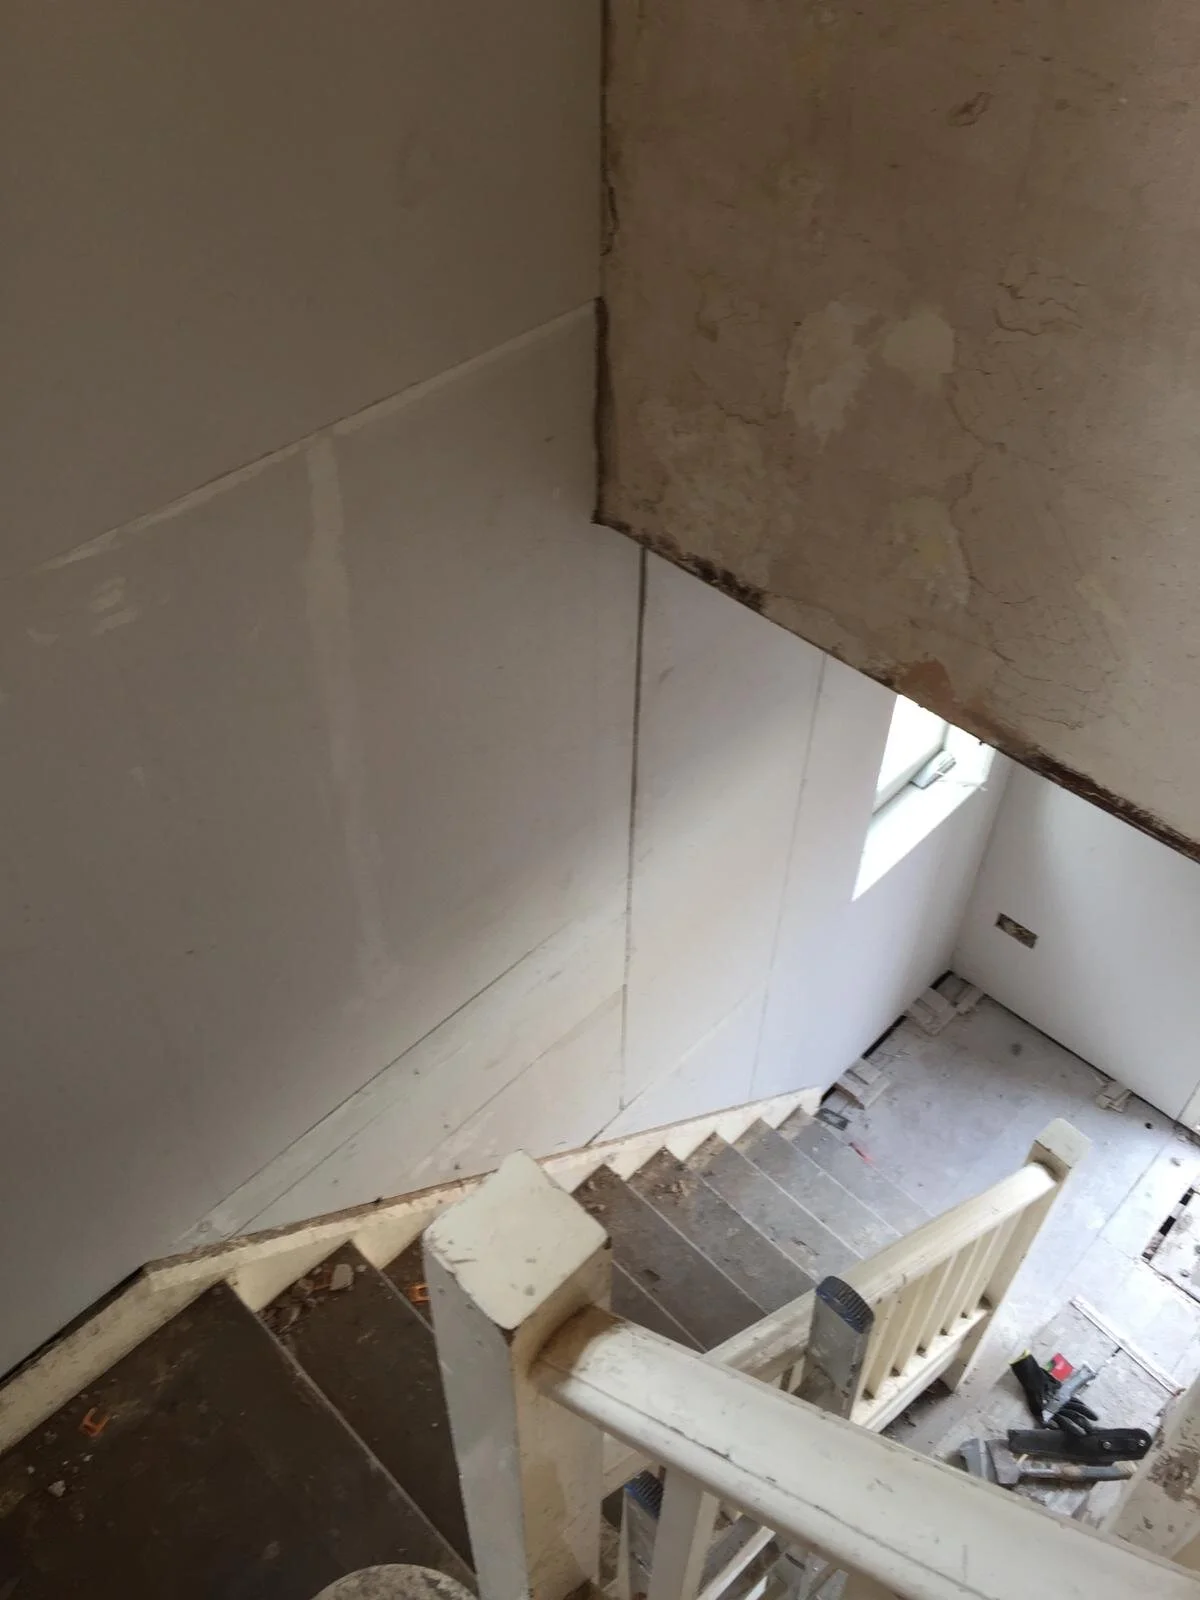
Dry-Lining & Plastering:
Once we had all the walls stripped back to the brick we began to dry-line all the walls in each individual room ready for plastering.


Piping & Central Heating:
Immediately after dry-lining and plastering we started to fit all the copper piping for the brand new central heating system and radiators.


Painting & Joinery:
Following the installation of the pipework for the central heating system, we began by applying an undercoat to all walls and ceilings throughout the house. The following day the joinery work started to take place, initially this involved the fitting of skirting boards, architraves, internal doors and finally laying 12mm plyboards throughout the floors upstairs to make the floors structurally sound. As soon as the initial joinery work had been completed we then began the second phase of painting upstairs, Mr Oseghale wanted everything to be white washed in white emulsion and gloss to ensure his new home has a clean and modern feel to it.


Bathroom:
Upon the completion of all the painting and upstairs joinery work we then moved into the bathroom for a complete refit. Mr Oseghale had previously purchased all tiles and bathroom furniture from Manchester Tile Centre, the furniture included; an L-Shaped bath + Hinged Screen, Wall Hung Vanity Basin & Unit, Close Coupled Toilet, Towel Radiator and finished with a black matte shower and taps, perfect for any modern bathroom.


Downstairs Tiling:
Following the works which had been completed upstairs, it was then time to prep all floors downstairs ready for C1 Matting and tiles to be laid. The prep work involves boarding out all floors with 6mm cement boards to ensure the floor is structurally sound and perfect for our C1 Matting which is laid to ensure flexibility for movement, then installation of tiles took place throughout the downstairs hallway, WC and living room.


Downstairs Painting and Joinery:
Once we had finished all the tiling and grouting we protected the floors with dust sheets to ensure no damage occurred to the floor whilst we fitted the skirting boards, architraves and internal doors. Our next step was the build a frame underneath the stairs which was finished with a tongue and groove timber and a door hatch to allow appropriate access and storage We then proceeded to white wash with white emulsion and gloss, keeping everything uniformed with the upstairs paintworks.


External/Rear of Property:
We removed all brickwork from around the windows on the rear of the property, this was due to the mortar joints decaying which allowed the weight of the roof to compress the window frames, stopping the windows from opening. To begin this process we removed the outer layer of brick, allowing us to fit lintels above the window frames. We cleaned up the existing bricks and relayed with new mortar. We also replaced all the external cast iron soil piping due to rot and rust, this was replaced with brand new PVC pipes to prevent rot and rust in the future.


Kitchen Floor:
The final job in the house was the kitchen floor, we had to go underneath the floors to build a support frame, this was due to excessive movement on the existing floor. Following this, we laid 6mm cement boards and C1 Matting to further strengthen the floor and to run level with the living room. We then proceeded with the fitting of tiles, once dried we grouted and cleaned all of the floor. Once all the tiling and grouting was complete throughout the downstairs area and upstairs bathroom we applied a sealant to protect the tiles and grout.


